3.14.2014

Scrappy Pillow WIP


I'm in the process of putting together a new little pillow for our couch. I've been wanting to do this for some time now but have always been working on other projects! I've pulled some scraps from my stash. I'm liking it so far! I'm trying to decide if I want to add sashing, or a border around the 4 patches, or cut the 4" squares down to the 4-patch size... I'm not sure how it will turn out yet but it's fun working on a small project that will be displayed in our home!


Related Posts:


Scrap Organization
Scrap Organization

3.11.2014

Baby Girl Half Square Triangle Quilt


Here's a sweet little half square triangle baby girl quilt I finished a while back.

NOTE: I used the same method in this tutorial I made.


I used Kaffe Fassett's fabric from this Red Fat Quarter Bundle and some gray solid fabric I had on hand.


For the binding, I used this Mirror Ball Dot fabric in Candy by Michael Miller that I purchased at my local quilt shop City Craft.


I also made a little 12"x12" ruffled pillow to match. Isn't it so sweet?! 


All of the colors are so bright and energetic. 


For the backing, I used a Anna Maria Horner's Sinister Swarm in Vivacious print from her Field Study line along with a Japanese imported fabric I can't remember the name of. I purchased the backing fabric from The Stitch Lab in Austin, Tx. 


The was such a fun, easy quilt to work on. I can't wait to give it to someone special!


Related Posts:

HST Quilt Tutorial
HST Quilt Tutorial
HalfSquareTriangleBabyQuilt
HST Baby Quilt
HST Smalley Quilt
HST Smalley Quilt

3.10.2014

Felt Pizza


This past weekend, Daniel and I went to a 3rd birthday party for some sweet little kiddos we know! I made these cookies for them last year, and thought I would make them something similar. I wanted to make them something with a little more customization since they are older and are filled to the brim with imagination these days. 


I found this felt pizza post from LiEr of Ikat Bag and knew it would be such a fun thing for them to play with! The toppings I included are shown above. Toppings: Sauce, green bell peppers, black olives, sausage, pepperoni, cheese, Canadian bacon, and pineapple.


I made 4 crusts so that they can each make two at a time or they can make one with their parents at the same time. LiEr walks you through her process of making the crusts in her post.


There are so many fun combinations of toppings to put together!


Yum. I love supreme pizza. It looks good enough to eat!


LiEr also shows that you can make fun faces and pictures with the toppings. So fun! Daniel made the monster face in the top right-hand corner. Haha. We had some fun playing around with it before we wrapped it all up.


When I thought about all of the little pieces that would be included in this gift, I knew I wanted to give it in a way that would help it stay organized. The topping could get out of control and messy really fast. Look at all those little pieces of cheese!


I found these little GladWare plastic containers at Target for just $2.59! Each pack comes with 8 containers. The perfect amount for what I needed.


I purchased a 12x12 scrapbook case from Michaels to keep the containers and pizzas in. I bought the plastic case and the silver stars from Michaels for less than $6.00!


I finished it up with a big red bow on top to try and hide the goodies inside. This was such a fun project to put together! It looks like a lot of cutting, but it's the kind of project that you can work on while sitting on the couch watching a show. I had such a fun time working on it and hope the kids have a fun time playing with it!


Related Posts:


Felt Cookies
Felt Cookies

3.06.2014

Cutting Guide: Creating Your Own Charm Pack Squares


Working with pre-cuts can be so fun! There are a ton of charm pack quilt tutorials out there. Here is a link to some on Pinterest. If you find a fun charm pack tutorial you'd like to try but don't have any charm pack squares, you can use this guide to create your own! 


Related Posts:


Half Square Triangles
Layer Cake Cuts
Layer Cake Cuts
Basic Quilt Sizes
Basic Quilt Sizes
Fat Quarter Cuts
Fat Quarter Cuts

3.05.2014

Fabric Collection for New Quilt


I pulled these fabrics from my stash last night. I'm sure you can guess, but this is going to be a new baby boy quilt! I have an idea for what I want to do, but I may change my mind by the time I'm through cutting. We'll see! 

Most of these fabrics are either Bella or Moda solids. There is one piece of Kaufman Essex Linen Blend in Medium Aqua and the pattern on the bottom is pulled from my Serenade layer cake by Kate Spain.

I can't wait to start cutting!

3.04.2014

Basic Quilt Sizes


Here's a little illustration showing the basic quilt sizes! I can't even imagine doing a king size quilt. Ha. Maybe someday!
Related Posts:

LayerCakeCuts
Layer Cake Cuts
FatQuarterCuts
Fat Quarter Cuts
HalfSquareTriangle
Half Square Triangles
Creating Charm Squares

3.03.2014

Starburst Quilt Complete


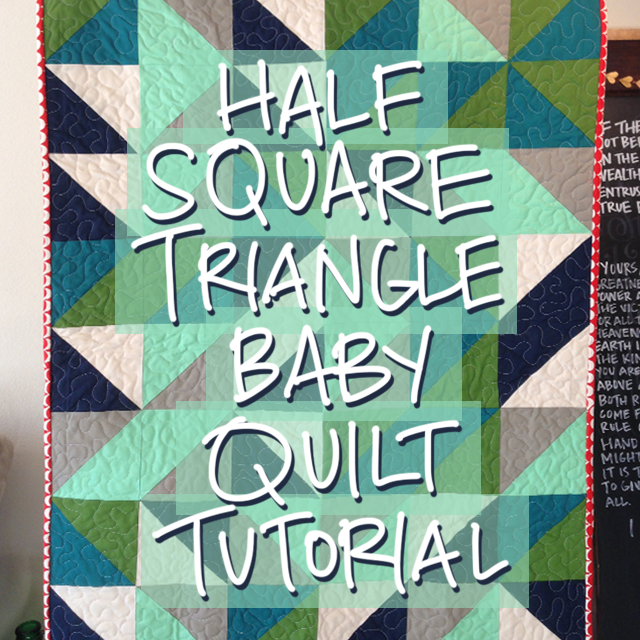
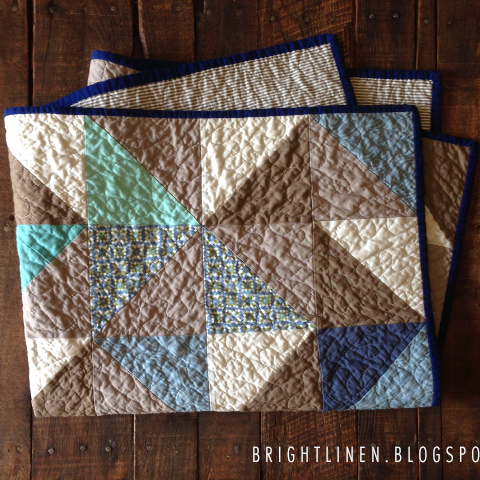
I finished this Starburst baby quilt a while back. This was when I first learned how fun half square triangles can be! I could make so many fun designs with them. 


I used solids and couple Kaffe Fassett fat quarters I've had for a while. The center star is made up of Millefiore Red fabric and the other pattern is from the same bundle. I don't remember the name. The orange is Kona Cotton Flame. So bright and fun!


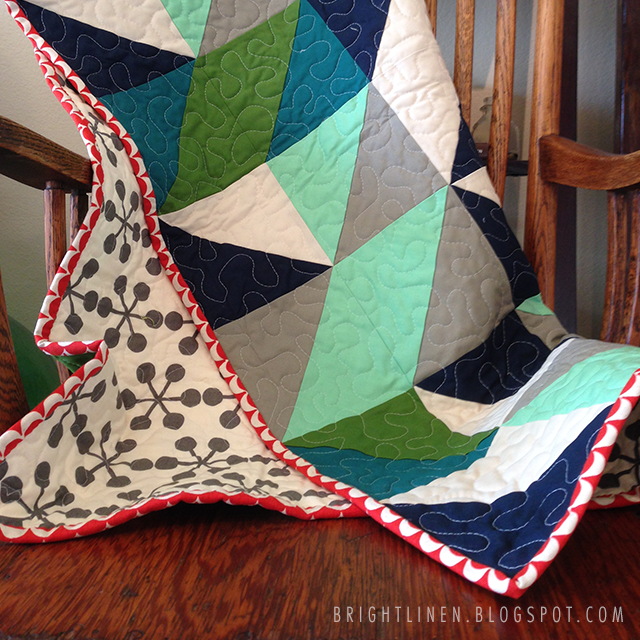
I actually used some muslin I had on hand for the white. I was a little worried it wouldn't wash well with the other fabric since it wasn't great quality, but it worked out great! It actually came out of the dryer looking extra crinkly, which I love.


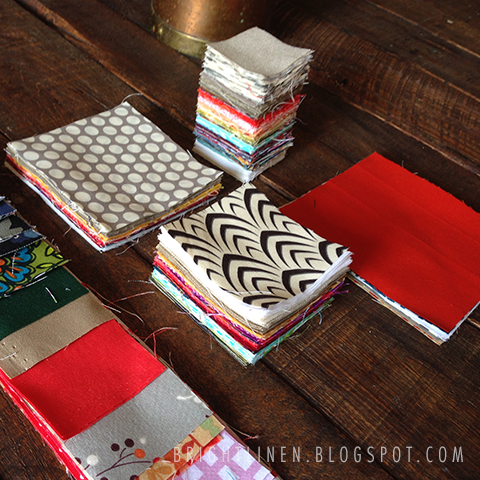
I don't know if I've mentioned it before but I don't wash and dry my fabric before I start sewing. I have no huge argument for that decision. I actually am impressed by those who take the time and care to wash, dry, and iron their fabric before they start. I think I just don't have the patience! Ha. So as you could imagine, looking at these bright colors, I was a tad worried when I washed it. I just imagined bright orange and red bleeding onto the crisp white. 


It turned out great though! No problems at all.


For the backing, I used Dottie Cream Shroom fabric by Jay-Cyn Designs for Birch Fabrics. I love this fabric! I need to buy more of it.


I wanted to show a close up of a mistake I made while quilting. As you can see in the middle of the picture above, I quilted a wrinkled part of the fabric. It's not that noticeable but I wish I had pinned a little more thoroughly. Lesson learned!


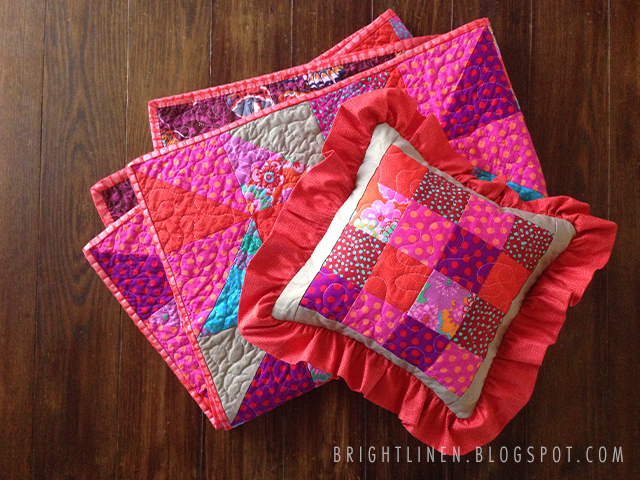
For the binding I used a pretty fuchsia colored solid that matched some of the pinks in the patterned fabric.


I quilted this in a meandering free-motion quilting pattern. 


It was so fun making a pattern up for this quilt using little half square triangles. Oh the possibilities! I'm not sure who will end up with this quilt, but I have a feeling it won't sit around long. My sweet friends are having babies right and left! :)